The funny thing is that every guy has their own method for lighting fires and that their way is best, I was one of those people too using my trusted teepee method I used in cubscouts, the below method is what I learned in chimbey Sweeping school in Bavaria Germany. The problem with the teepee method is that it collapses in on itself when you add logs.
Starting at the beginning: all wood to be burned must be dry! this may seem obvious but I often visit houses to find that the wood the customer is attempting to ignite is far too wet. The time scale required to air dry wood that has been split, is around 2 years from the day the tree was felled to the day it can be burned. The moisture content of wood should be checked using a log moisture metre. The moisture content must be below 21%. If the moisture content is too high then the heat energy will be utilised by the process of evaporating the water within. This results in very little usable heat and excessive tarring of the chimney. Burning wet wood will lead to, extra sweeping visits, a black viewing glass and greatly increase the risk of chimney fire, probably most importantly for the end user expensive repairs and maintenance.
The types of wood that I use in the fire documented below are pine which has been split into 1″x 1″ x 6″ pieces for kindling. Beech Logs which have been cut to 30cm lengths split and Kiln dried. The fire lighters which I use are certainly Wood Flamers. The stove is a Scan Anderson 4/5 DEFRA exempt, wood burning stove that is approximately 4 years old
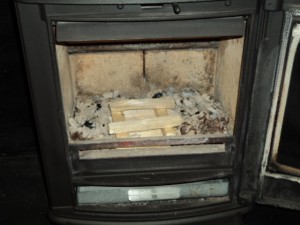
Tip A bed of ash in the fire box is A ok when burning wood
1, On top of the ash we now add a raft of 5 pieces of kindling and begin to build a Jenga like tower.
2, Carefully we add 2 flamers and ignite using a lighter
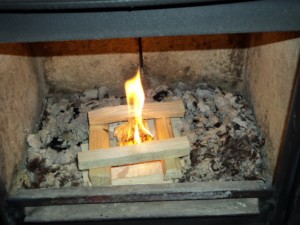
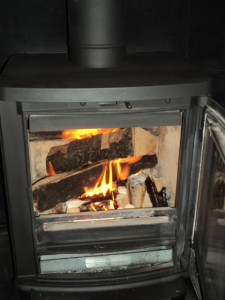
3, we now add more kindling to finish the Jenga like square, Ensuring that there are many air gaps for the flame to jut through and leaving a large contact area for the flame available on the kindling.
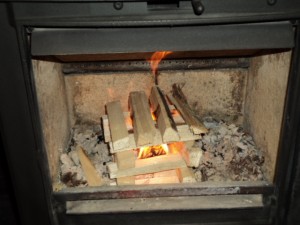
Warning things are getting HOT
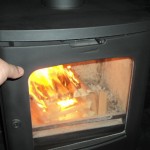
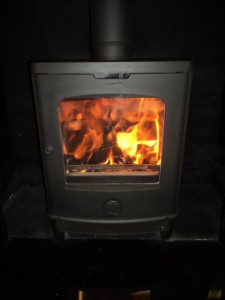
4, We now ensure that all vents and air intakes on the stove are open and carefully, partially close the door leaving an air gap of approximately 1cm. We leave the fire to become hot 3/10 Min’s approximately. This ensures that the chimney has an adequate draught and will help prevent smoking back when we add our logs.
the door stays ajar 1cm approx




Leave a Reply